How to Build Realistic Terrain in Minecraft
Shape realistic Minecraft terrain with better tools, layers, rivers, biomes, and play routes.
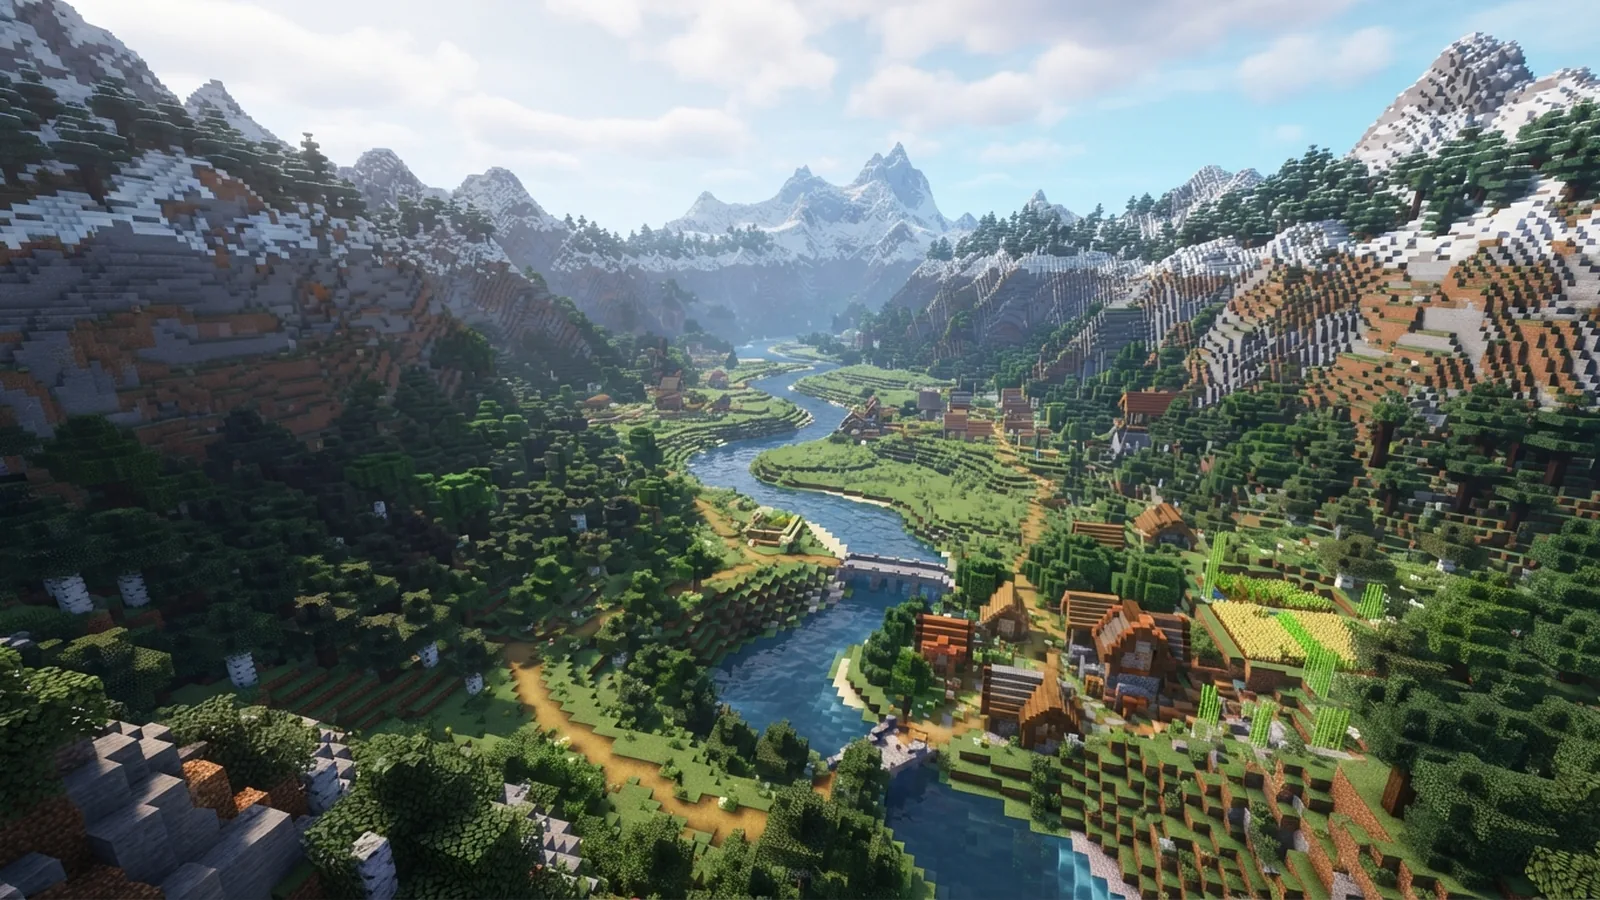
Start With the Shape of the Land
To build terrain in Minecraft, block out large landforms before adding small details. Start with height, depth, and clear paths through the area. Mountains, valleys, plains, rivers, and lakes each need a different shape. Good terrain feels varied, but it still looks connected.
Work in Creative mode so you can fly and test ideas fast. Mark the build area with temporary blocks. A 200 by 200 block site gives enough room for several landforms. Keep your main build near the center, then shape the land around it.
Think about how players will move through the scene. A steep cliff can frame a castle. A wide valley can guide a road. A low plain can give farms and villages enough space. Terrain should support the build, not hide it.
- Use high ground for views, forts, and mountain paths
- Use low ground for rivers, farms, caves, and settlements
- Leave open space around major builds
- Plan roads and bridges before final block work
Realistic terrain needs both large shapes and small changes. Flat areas should not stay perfectly flat. Add gentle rises, shallow dips, and uneven edges. These small changes make the landscape feel more natural.
Choose a Terrain Type and Build Its Base
Mountains need strong height changes and broad lower slopes. Begin with a wide base, then narrow each higher layer. Avoid building a sharp cone unless you want a fantasy peak. Add ridges that run in different directions.
Valleys work best between two raised areas. Keep the valley floor wider than its stream. Add shelves along the sides. These shelves create space for trees, paths, and small homes. A deep valley also gives your world a clear sense of scale.
Plains need less height, but they still need shape. Raise some areas by two or three blocks. Lower other areas near water. Add low hills around the edge. This keeps the plain open without making it dull.
| Terrain type | Useful shape | Good details |
|---|---|---|
| Mountain | Wide base with rising layers | Stone faces, snow, cliffs |
| Valley | Low floor between raised sides | Streams, woods, paths |
| Plain | Low slopes and broad open ground | Grass, farms, ponds |
| Coast | Stepped land beside water | Sand, rocks, docks |
Elevation gives terrain its main structure. Layering gives it a natural surface. Change height in steps instead of one giant wall. A slope with five-block stages often looks better than a smooth ramp.
Use Tools to Shape Terrain Faster
Minecraft's built-in tools work well for basic terrain work. Use a shovel to clear dirt, sand, and gravel. Use a pickaxe to remove stone. A bucket helps you test rivers, ponds, and small waterfalls. In Creative mode, block replacement makes large changes much faster.
Commands can help with large edits. The /fill command can replace blocks inside a set area. Use it for rough layers, large plains, or quick stone walls. Test commands in a small area first. A wrong range can remove hours of work.
Many builders also use WorldEdit on supported Java servers. Its selection tools can copy, move, smooth, and replace large areas. WorldEdit brushes can raise land, lower land, or paint block mixes. Use a soft brush for slopes and a small brush for banks.
Keep a backup before any large edit. Save a clean version of the world. Then make one change at a time. This makes mistakes easy to undo and helps you compare each version.
- Use broad selections for the first land shape
- Use smaller brushes near roads and buildings
- Mix two or three surface blocks for soft changes
- Undo large edits when the shape becomes too even
Custom maps can add terrain that normal world generation does not create. You can start with a downloaded map, a seed, or a hand-made world. Check the map source and version first. A map made for another version may have broken blocks or missing features.
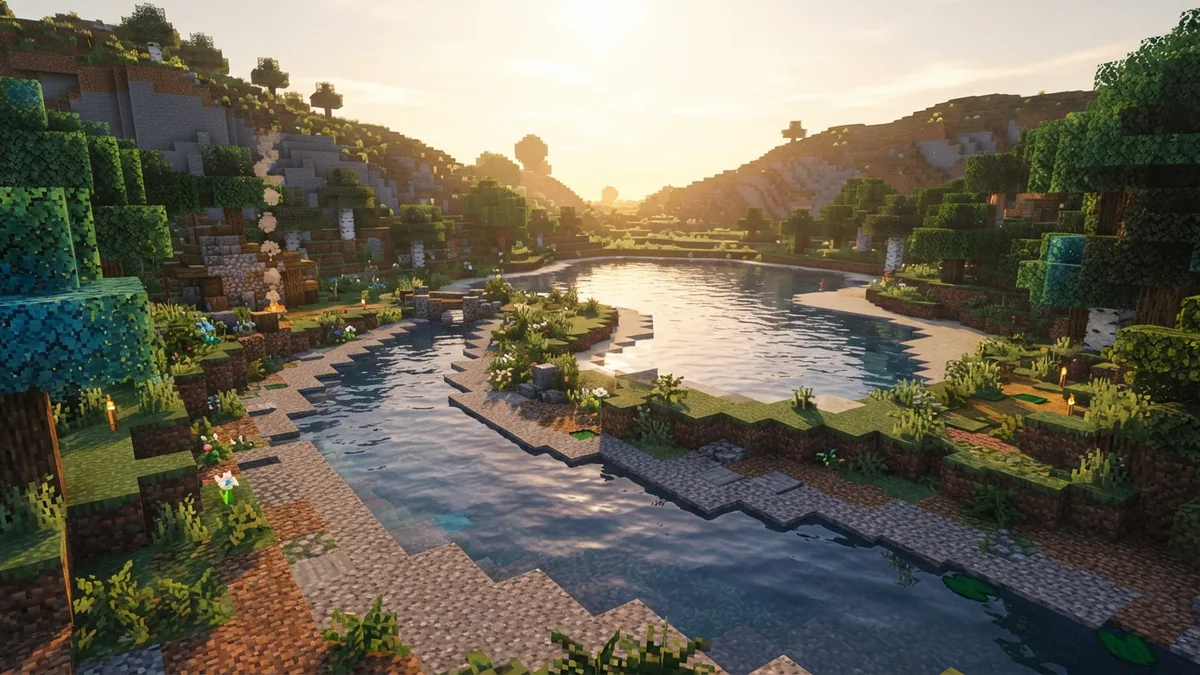
Build a Landscape in Clear Stages
The best method for creating terrain in Minecraft uses several passes. Each pass has one job. Do not place grass, flowers, and rocks before the main slopes work. Detail cannot fix a weak base.
- Mark the border. Set the build size and note key points. Mark the highest peak, lowest point, and main water route.
- Block out large forms. Build rough hills, mountains, plains, and valley walls. Use cheap blocks during this pass.
- Set the elevation. Create high, middle, and low zones. Add shelves to steep slopes. Keep enough flat ground for play.
- Cut the water paths. Dig rivers from high ground toward a lake or sea. Make bends wider on the outside edge.
- Blend the surfaces. Replace hard lines with dirt, stone, gravel, sand, and grass. Add steps between unlike terrain types.
- Add natural details. Place trees, shrubs, grass, boulders, ponds, and small caves. Repeat patterns with changes in spacing.
- Test the player route. Walk, ride, and fly through the area. Fix blocked paths and unfair drops.
Rivers look better when they change width. Keep some sections narrow and others two to six blocks wide. Add shallow gravel near the bank. Use deeper water near bends and meeting points.
Lakes need a clear basin. Lower the center by two or more blocks. Give the shore a mixed edge with sand, dirt, gravel, and grass. Avoid a perfect circle. A few small inlets make the lake feel older.
Hills should have a reason to rise. Place them near mountain feet, river bends, or the edge of a plain. Use lower slopes on one side and steeper faces on the other. This uneven profile feels more like natural land.
Blend Biomes With Plants and Small Features
Blending different terrain types takes more than changing one block. Create a transition zone between each landform. A mountain can fade into a rocky foothill, then into grassland. A beach can shift from stone to gravel, sand, and water.
Use block mixes with care. A grass slope may need dirt below, coarse dirt near paths, and stone near exposed rock. Keep the main surface clear. Too many random blocks can make the terrain look noisy.
Vegetation should match the land and climate. Place tall trees in groups, not equal rows. Add smaller trees near the group edge. Use bushes, grass, and flowers to fill gaps. Leave bare ground near cliffs, trails, and dry areas.
- Place trees at different heights and distances
- Use fallen logs near forests and wet ground
- Add reeds beside slow water
- Use moss, vines, and roots in shaded areas
- Place boulders near slopes and stream bends
Natural details should follow the shape of the ground. Grass looks best on gentle slopes. Rocks suit steep drops. Trees gather near water and shelter. These links make your Minecraft terrain features feel planned by nature.
Custom biomes can support unusual themes. Try a red canyon, a frozen valley, or a mushroom island. Keep each theme focused. Use one strong color range, then add small contrast near paths and landmarks.
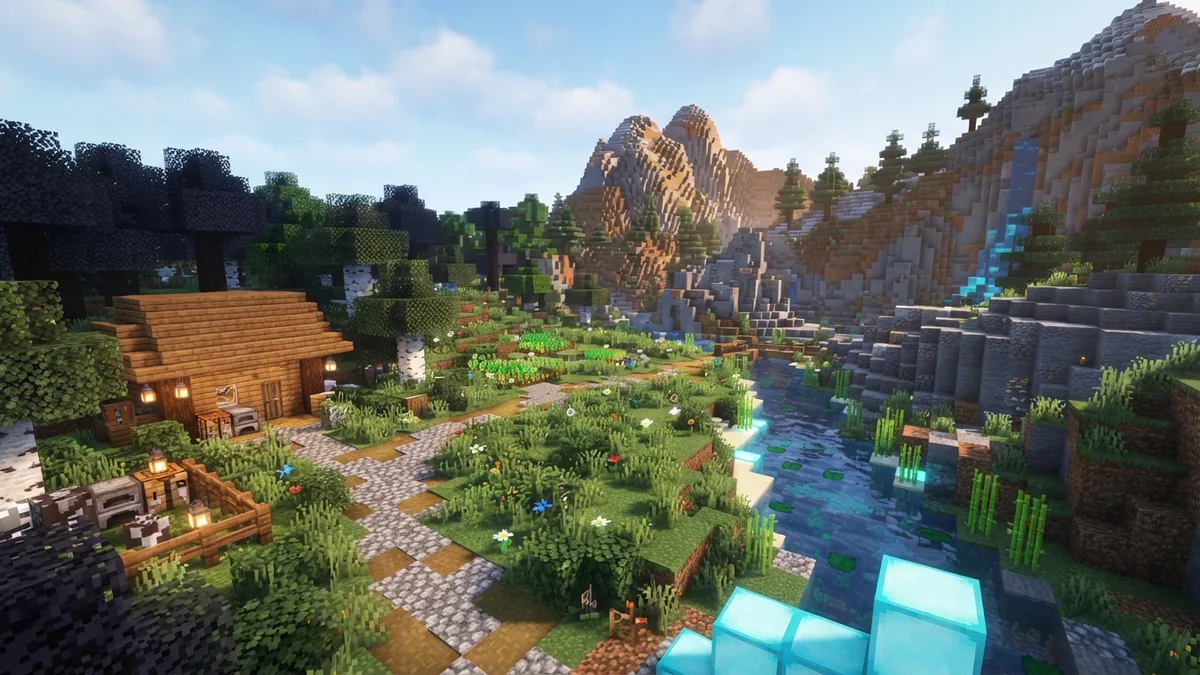
Make Terrain Fun and Safe to Play
Good environment design must support gameplay. A pretty mountain can still be frustrating if every route ends at a cliff. Add paths, stairs, bridges, and safe rest points. Keep key areas easy to reach.
Check height changes from the player's view. A slope may look gentle from above, but harsh from the ground. Walk the main routes at night and during rain. Poor lighting can make a well-built area hard to use.
Plan space for farms, homes, mobs, and redstone builds. Leave flat plots near towns. Keep water away from important redstone lines. Place caves where they add interest without cutting through a main road.
Use these checks before you finish:
- Can players reach each major build without flying?
- Are steep drops marked or protected?
- Do rivers have bridges or safe crossing points?
- Can players find food, light, and shelter nearby?
- Does the terrain look good from ground level?
Look at the area from several distances. From far away, check the skyline and major shapes. From nearby, check slopes and block mixes. At ground level, check paths, plants, and sight lines.
The strongest Minecraft terrain building balances beauty with use. Build clear forms first. Add layers and features next. Then test every route as a player.
Final Tips for Better Terrain Builds
Save versions as your project grows. Keep one file after the base shape, one after water, and one after detail work. This protects your progress. It also lets you compare your design choices.
Use real landforms as simple guides. Rivers follow low ground. Hills often rise near valleys. Lakes collect in basins. These rules help your terrain feel believable without copying a real place.
Do not fill every empty block. Open space gives hills and mountains room to stand out. It also helps players read the landscape. Contrast matters more than detail count.
Start small if the project feels hard. Build one valley with a stream and a hill. Learn how the parts connect. Then expand the same ideas into a larger map.
Step-by-step
- 01 Mark the build area
Set the project size and mark the peak, low point, main build, and water route.
- 02 Block out large landforms
Shape rough mountains, valleys, plains, and hills with cheap blocks.
- 03 Add elevation layers
Create high, middle, and low zones. Add shelves instead of tall, flat walls.
- 04 Shape rivers and lakes
Dig water paths from high ground. Make lakes uneven and give them mixed shore edges.
- 05 Blend the surfaces
Mix grass, dirt, stone, gravel, and sand across transition zones.
- 06 Add natural details
Place trees, plants, rocks, caves, and small ponds with varied spacing.
- 07 Test the player routes
Walk through the map and fix blocked paths, unsafe drops, poor lighting, and missing bridges.
Frequently asked questions
- How do you build realistic terrain in Minecraft?
- Start with broad hills, valleys, plains, and water paths. Add elevation layers before placing plants or small blocks.
- What tools help with Minecraft terrain building?
- Use Creative mode, commands, and terrain editing tools such as WorldEdit. Make a backup before large changes.
- How do you make rivers look natural in Minecraft?
- Create a wide river bed first. Add bends, shallow banks, gravel, and deeper water near bends or lakes.
- How do you blend different terrain types in Minecraft?
- Add a transition zone with foothills, gravel, dirt, and mixed plants. Avoid a sharp line between two land types.
- Can custom maps improve Minecraft terrain?
- Yes. Custom maps and seeds can add rare landforms or a strong theme. Check the map version before loading it.
- How do you make custom terrain playable?
- Test routes from ground level. Add paths, bridges, stairs, safe drops, flat plots, and enough light for play.
Related reading

How Do You Level Up a Map in Minecraft?
Scale maps from Level 0 to Level 4 and explore more of your world.

How Do You Make Iron Armor in Minecraft?
Craft a full iron armor set with 24 ingots and the right crafting patterns.

Can You Make Copper Armor in Minecraft?
Craft a 24-ingot copper set and see how it compares with leather and iron.