What the Loom Does in Minecraft and How to Use It
Learn how Minecraft looms turn banners, dyes, and patterns into custom designs.
What Does the Loom Do in Minecraft?
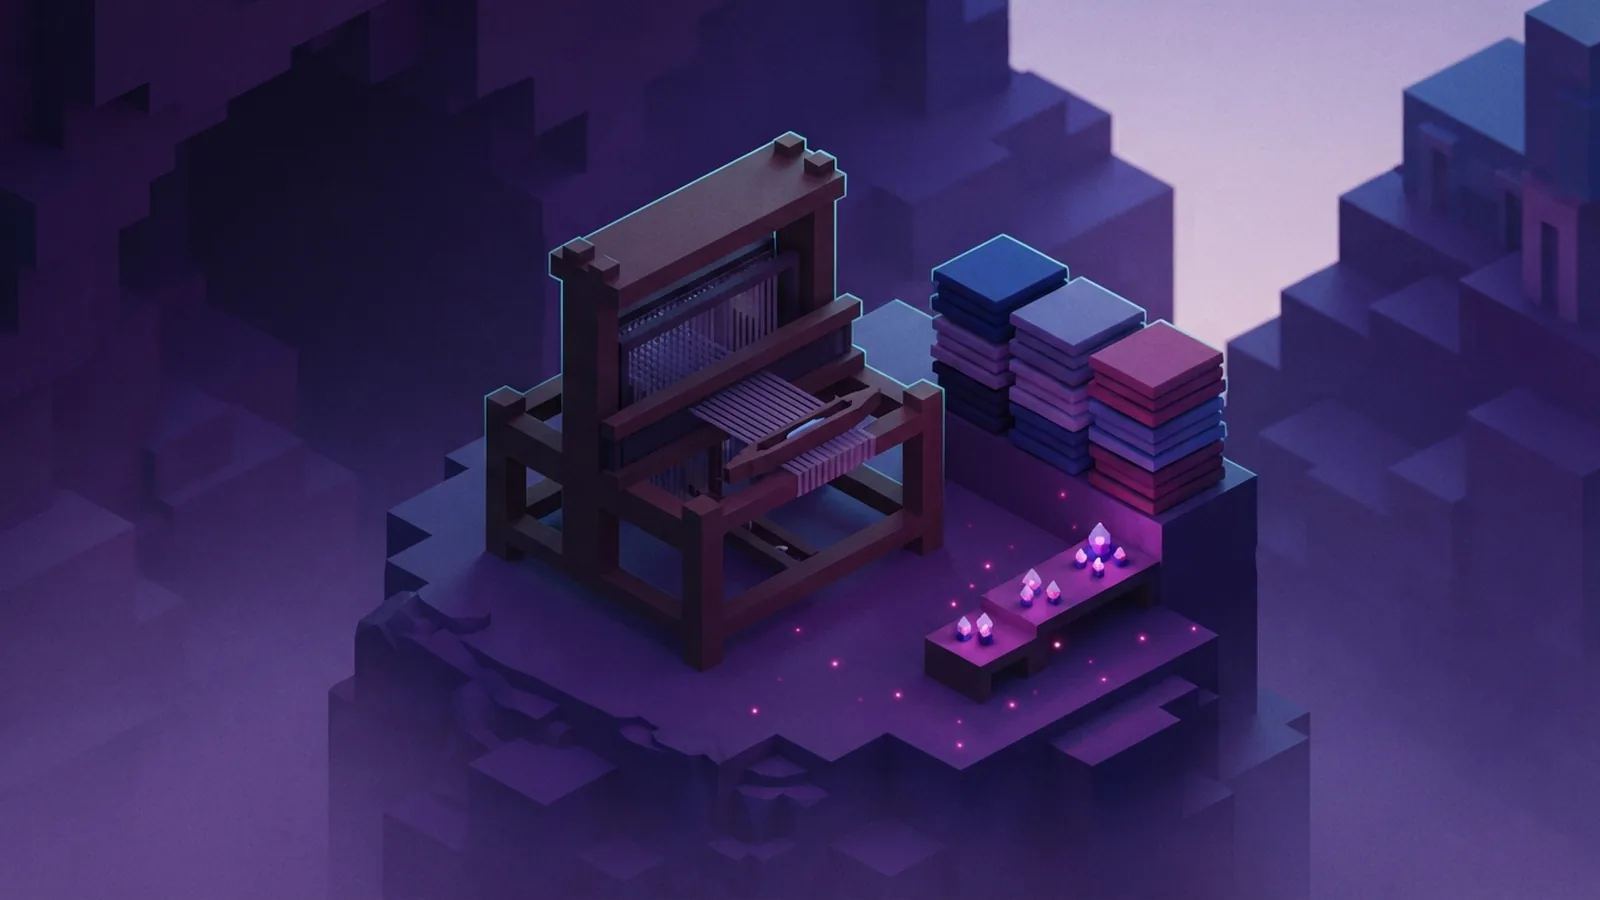
The loom is a crafting tool for making custom banners in Minecraft. It combines a banner, a dye, and an optional banner pattern. The result is a banner with a new color or design.
If you ask what does the loom do in Minecraft, the short answer is simple. It adds colored shapes to banners without a long crafting recipe. The loom also shows each design before you take the finished banner.
The loom has three input slots. One slot holds the banner. One holds the dye. The last slot holds a banner pattern, when you want one. A preview appears on the right side.
You can use the same banner pattern again and again. The pattern stays in your inventory after you make a banner.
Materials Needed for a Loom and Banner
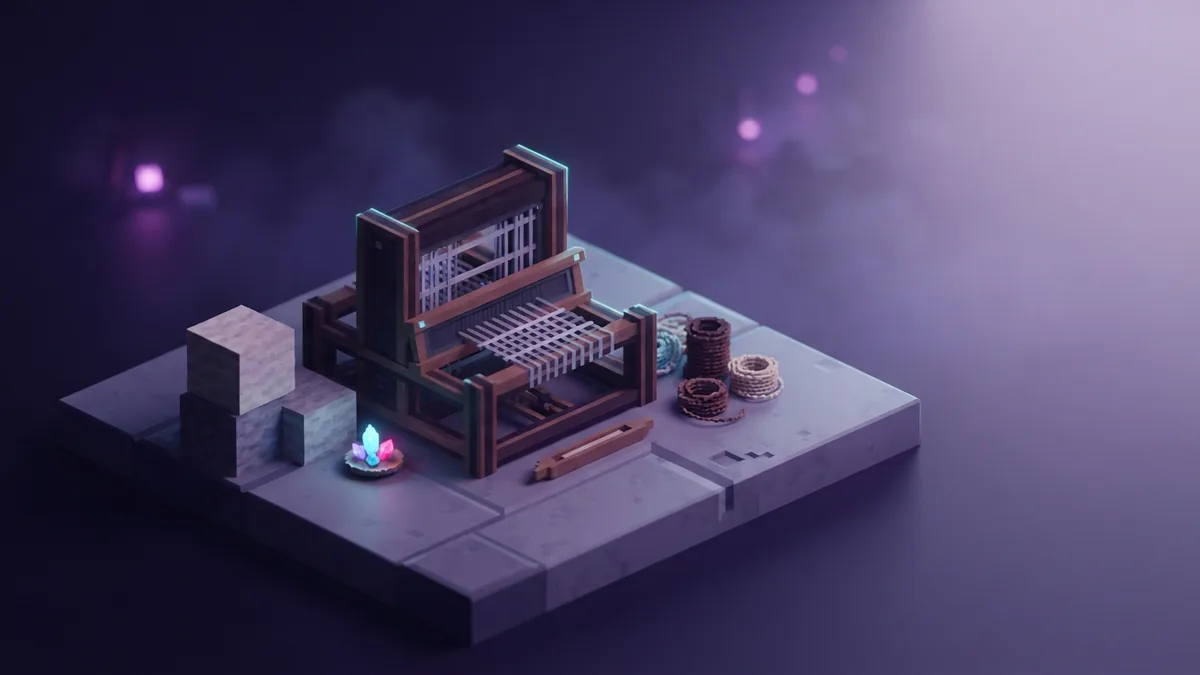
You need a few basic items before using a loom. First, craft or find a loom. Its recipe uses two wooden planks and two string. Any wood type works for the planks.
Next, get a banner. A basic banner uses six wool blocks and one stick. The wool color sets the banner's first color. You can also find banners in some generated places.
- One loom
- One banner
- At least one dye
- One banner pattern, if you want a special design
- A clear inventory slot for the finished banner
Each dye changes the color of the next design layer. Minecraft has 16 dye colors. These include white, black, red, blue, yellow, and purple.
You can make several banner colors before using the loom. This helps when you plan a matching set for a base, map room, or village.
How to Place a Banner in the Loom
Start by placing the loom in a useful spot. In Java Edition, right-click the loom to open it. In Bedrock Edition, tap the loom or use the interact button.
The screen works in much the same way in both editions. Bedrock controls can differ by device, though. Touch, console, and keyboard players may use different buttons.
Place the banner in the first slot. Then place one dye in the second slot. The loom will show a list of possible designs in the center area.
Select a design to see its preview. The output slot then shows the finished banner. Take it from the output slot to complete the process.
Do not place the banner in a crafting table for this step. The loom is the tool made for layered banner work.
Using Dyes to Change Banner Colors
Dyes control the color of each new layer. For example, a white banner with blue dye can gain a blue stripe. A second dye can add another layer in a later loom use.
The dye is consumed when you take the finished banner. The banner pattern is not consumed. This makes rare patterns useful for many builds.
Try different dye colors with the same banner. You can build strong contrast with black and white. Bright colors also stand out against dark walls.
- Use light dye on a dark banner for clear contrast.
- Use dark dye on a light banner for sharp borders.
- Repeat one color across several layers for a simple theme.
- Test the preview before spending your dye.
There is no need to guess the final look. The loom preview shows the selected layer before you claim the result.
Adding Banner Patterns
Banner patterns add shapes that normal dye choices cannot make. Examples include stripes, borders, crosses, gradients, and brick-like designs. Some patterns also create special symbols.
Many patterns come from a paper recipe and one matching item. For example, paper and a vine make a vine pattern. Paper and an enchanted golden apple make a special symbol pattern.
Put the banner in the first slot. Put a dye in the second slot. Then place the banner pattern in the third slot. Choose the pattern preview that appears.
Some pattern effects do not need a separate pattern item. The loom offers basic shapes through its normal design list. These options use only a banner and dye.
Pattern items stay safe after use. You can remove the new banner and repeat the same step with another banner.
Step-by-Step Loom Instructions
- Place the loom on the ground near your storage or building area.
- Open the loom with your edition's interact control.
- Put one banner into the left banner slot.
- Put one dye into the dye slot beside it.
- Add a banner pattern to the third slot, if needed.
- Pick a design from the available choices.
- Check the preview and take the finished banner.
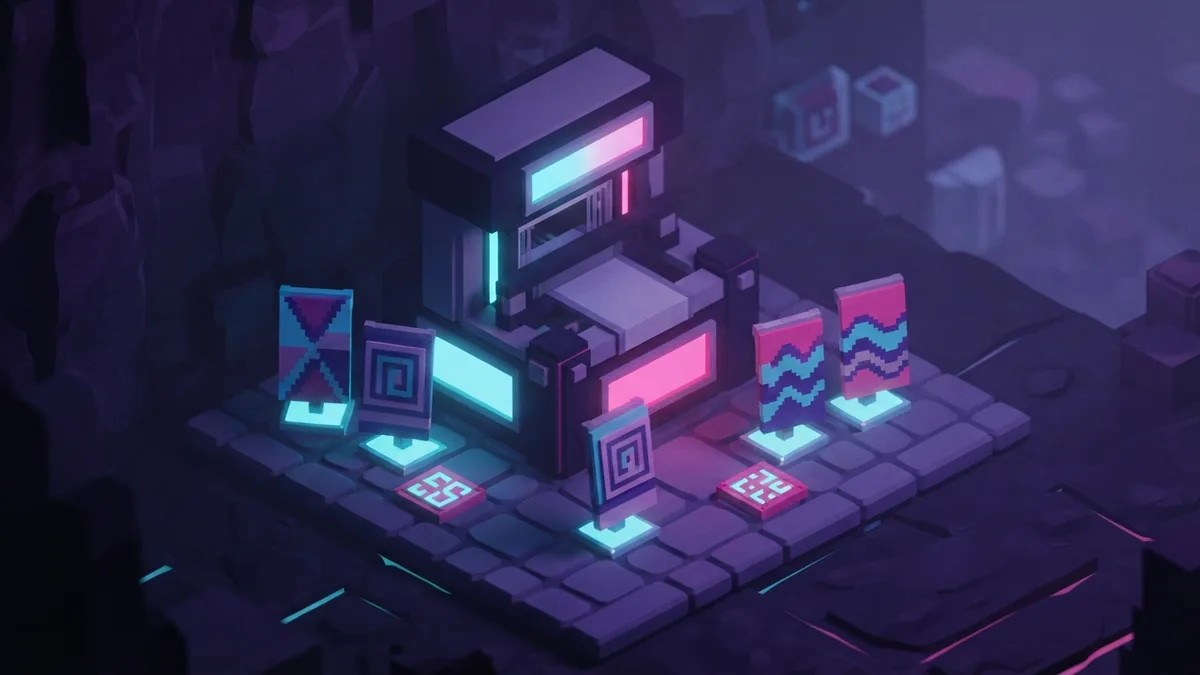
Repeat the process when you want more layers. Each pass adds one new design layer to the banner. Plan the order before you begin.
For example, start with a white banner. Add a blue base shape first. Then add a black border. Finish with a small red symbol.
Each new layer covers part of the layers below it. The preview helps you catch unwanted overlaps. It also helps you save rare dyes.
If no design appears, check the input slots. The banner must go in the banner slot. The dye must go in the dye slot.
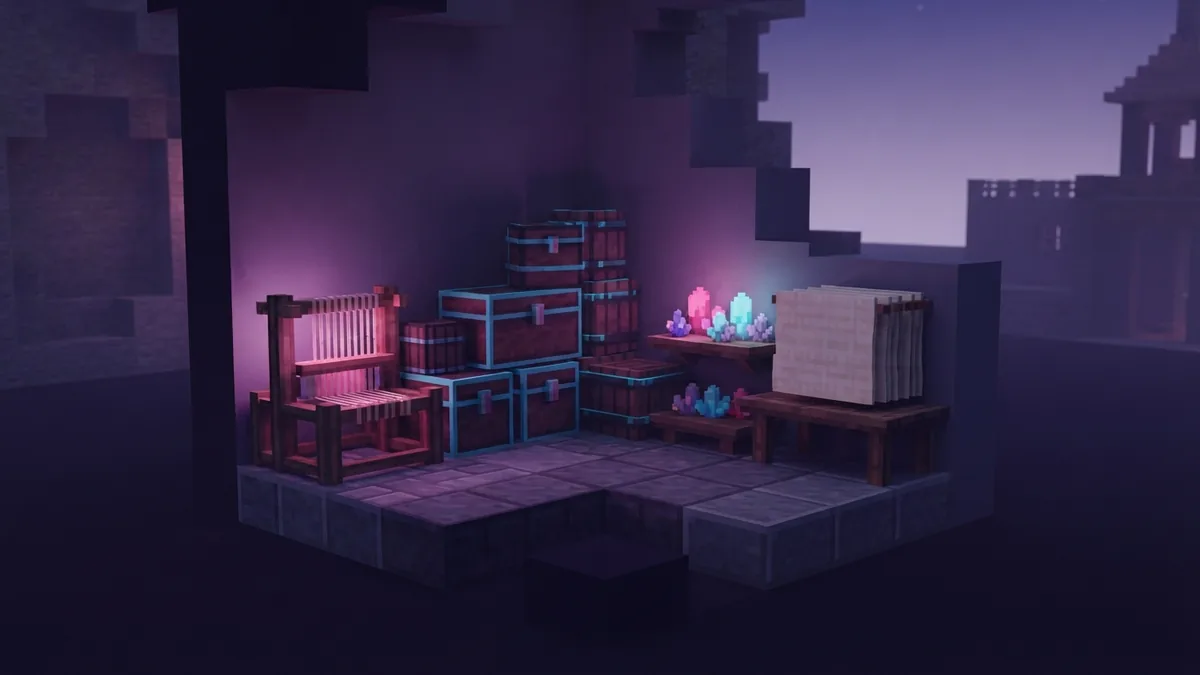
Tips for Better Loom Designs
Use a spare banner when testing a new idea. This protects a design you already like. It also lets you compare several color choices.
Keep dyes and patterns near your loom. A small chest makes banner crafting faster. Sort dyes by color if you make banners often.
Build from large shapes to small shapes. Add a broad stripe or field first. Add a border or symbol after that.
- Use two or three main colors for a clean design.
- Check the preview after every layer.
- Keep unused patterns in a chest near the loom.
- Make a copy before adding a risky final layer.
- Use matching banners to mark paths, rooms, or team areas.
The loom is also useful for village work. In Java Edition, a loom can serve as a shepherd's job site block. This can affect nearby villagers who need a job.
Remember the key answer to what does a loom do Minecraft players often ask. It gives you a fast way to add dye layers and patterns to banners. It does not make every banner effect at once, so build the design one layer at a time.
Java and Bedrock Edition Differences
The loom's main purpose stays the same in both editions. You place a banner, dye, and optional pattern into three slots. Then you choose a preview and collect the result.
The main difference is how you open and control the loom. Java players usually right-click it. Bedrock players use the interact button on their device.
Menus may look a little different across computers, consoles, and phones. The slot order and design choices remain easy to follow. If the controls feel unfamiliar, look for the game's use prompt.
Some game versions can change small details. Updates may add patterns or adjust recipes. The core loom process remains stable.
Quick Answer: What Is a Loom Used For?
A loom is used to create custom banners in Minecraft. It combines one banner with dye and, when needed, a banner pattern. You can add several layers by using the loom more than once.
The interface keeps banner crafting clear. Three slots show the banner, dye, and pattern inputs. The preview lets you select a design before using your materials.
Patterns can be reused after each banner. Dyes are spent, but the pattern item stays available. With a few colors and one loom, you can make signs, flags, markers, and wall decor.
Step-by-step
- 01 Place the loom
Put the loom near your storage or building area. Open it with your edition's interact control.
- 02 Add the banner and dye
Place one banner in the banner slot. Place one dye in the next slot.
- 03 Add a pattern
Put a banner pattern in the third slot when you want a special design.
- 04 Choose the design
Select a preview from the available options. Check the result before taking it.
- 05 Collect the banner
Take the finished banner from the output slot. Repeat the process for more layers.
Frequently asked questions
- What does the loom do in Minecraft?
- A loom adds dye layers and patterns to banners. It uses three slots for a banner, dye, and optional banner pattern.
- What materials do you need to use a loom?
- You need a banner and at least one dye. You can also add a banner pattern for special designs.
- How do you use a loom in Minecraft?
- Open the loom, place the banner and dye into their slots, then choose a design. Add a pattern in the third slot when needed.
- Are banner patterns reusable in Minecraft?
- Yes. The loom uses the dye, but the banner pattern remains in your inventory after crafting.
- Does the loom work differently in Java and Bedrock?
- The main process is the same in both editions. Java usually uses right-click, while Bedrock uses the device's interact control.
- Can a loom add more than one pattern to a banner?
- Yes. Use the loom again with the finished banner and another dye. Each pass adds another design layer.
Related reading
How Do You Make Iron Armor in Minecraft?
Craft a full iron armor set with 24 ingots and the right crafting patterns.
Can You Make Copper Armor in Minecraft?
Craft a 24-ingot copper set and see how it compares with leather and iron.
How Do You Make a Nether Portal in Minecraft?
Build the frame, light it, and travel safely between the Overworld and Nether.