Minecraft Base Design: Build With Purpose
Plan a Minecraft base that looks great and works well.

Start With a Base Plan
A strong Minecraft base starts with one clear goal. Decide what the base must do before placing blocks. You may need storage, farms, villager rooms, or a safe home near your mine.
Pick a site that fits that goal. A flat field suits wide builds and large farms. A hill works well for towers and lookout points. A cave gives you strong walls with less digging.
Mark the base outline with cheap blocks first. This test shows if the size feels right. Walk around the full outline before you build. Leave space for paths, farms, and later rooms.
- Choose one main base theme
- Mark outer walls before building
- Leave space for future rooms
- Place paths between key areas
Keep the first layout small enough to finish. A finished starter base feels better than an oversized shell. You can expand once the first area works well.
Plan Rooms Around Daily Tasks
Good base design saves time during normal play. Place your most-used rooms near the main entrance. Keep storage, crafting, furnaces, and beds within a short walk.
Use clear zones instead of mixing every feature together. Put storage near crafting blocks. Keep farms outside the main walls. Place enchanting and brewing rooms in one side wing.
Think about movement when planning each room. A five-block path may seem short at first. It feels slow after many trips each session. Put high-use rooms close together.
| Base area | Useful location | Design tip |
|---|---|---|
| Storage | Near the entrance | Group chests by use and leave room to expand |
| Crafting | Beside storage | Keep key work blocks together |
| Farms | Outside or below the base | Leave space for water and walking paths |
| Bedroom | In a quiet upper room | Add windows and a safe exit |
Match each room to its task. A small furnace room needs little space. A map room or trophy hall needs more wall space. Build for use first, then add style.
Leave room around doors and stairs. Crowded entrances make even a large base feel small. Wide paths also help when you carry full inventories.
Give the Exterior a Strong Shape
Strong Minecraft builds have a clear shape from a distance. Start with one main form. Try a tower, hall, wall, dome, or tall gate.
Add smaller shapes after the main form looks right. Use height to create a focal point. A tall roof, chimney, tower, or portal room can guide the eye.
Place the tallest feature near the center or main entrance. This gives the build a clear front. It also makes the base easier to recognize from far away.
Depth can improve plain walls. Add pillars, balconies, roof edges, and recessed windows. Even a one-block change can break a flat surface.
- Build the main shape first.
- Add a strong roof or upper feature.
- Break flat walls with depth.
- Place bright accents near doors and corners.
Limit your block palette to three or four main materials. Use one block for the frame. Use another for trim. Add bright blocks as small accents.
Step back often while building. View the base from several angles. A wall that looks good up close may look empty from the valley below.
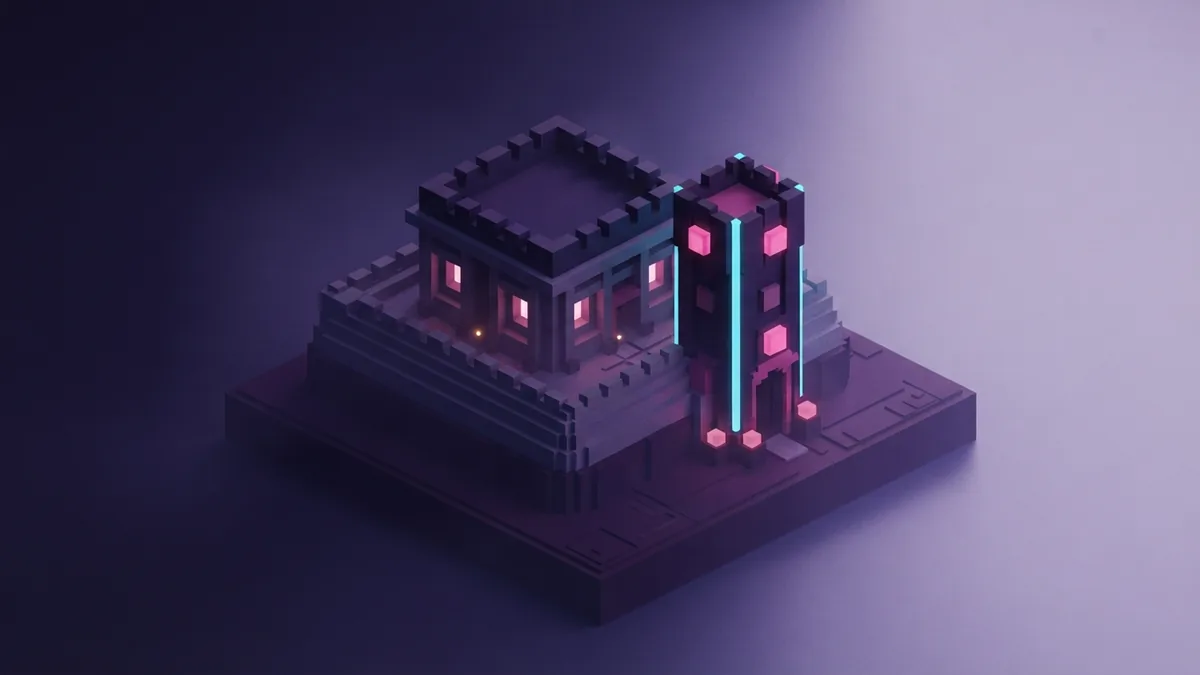
Add Detail Without Making Clutter
Details should support the base theme. A mining base may use rails, supports, sheds, and ore displays. A coastal base may use docks, lamps, boats, and small bridges.
Repeat a few design ideas across the build. Use the same trim block around doors and windows. Repeat roof shapes on nearby buildings. This links separate areas.
Lighting improves both looks and safety. Place lights at doors, path turns, farms, and wall corners. Hide some lights under slabs or behind trapdoors for a soft glow.
Build small outdoor scenes around useful spaces. Add a work yard, garden, watch platform, or covered path. Each scene should have a clear reason to exist.
- Repeat shapes across nearby buildings
- Mix open space with built areas
- Light paths before adding decoration
- Keep empty space around the main structure
Stop adding detail when the build becomes hard to read. Empty space gives key features more impact. A few strong details beat random blocks on every wall.
Keep decoration near places players visit. A small bench beside a path works better than a hidden scene. Details should reward movement through the base.

Build the Base in Clear Passes
Do not wait for a perfect design before starting. Build the base in clear passes. Each pass should solve one problem.
First, check the layout and room access. Next, fix the main shape and roof. Then add depth, lighting, paths, and small scenes.
This order keeps decoration from hiding poor planning. It also makes mistakes easier to spot. Save small builds before adding more rooms.
- Test the footprint. Walk the outline and check each entrance.
- Build the shell. Finish walls, floors, roofs, and main stairs.
- Place useful blocks. Add storage, crafting areas, beds, and furnaces.
- Improve movement. Link rooms with paths, signs, bridges, or stairs.
- Add depth and light. Shape flat walls and light dark routes.
- Finish with detail. Add small scenes that fit the base theme.
Test the base during real play. Enter with a full inventory. Move from storage to crafting, then to your mine. These trips reveal problems that a quick tour can miss.
Leave some walls unfinished until the layout proves useful. It is easier to move a room before you add fine detail. Good bases grow from play, not just from a first sketch.
Make Room for Future Expansion
A base rarely stays the same for long. New farms, storage needs, and travel routes will change your plans. Leave open land beside the main build.
Plan at least one clear expansion route. A side path can lead to new rooms. A lower tunnel can connect farms without crowding the main floor.
Keep walls, roofs, and paths easy to extend. Repeated shapes make new sections feel like part of the first build. Matching trim can link old and new rooms.
Do not fill every empty space at once. Open ground gives the base room to breathe. It also gives you space for future ideas.
- Reserve land near key rooms
- Leave space beside paths
- Repeat the main material palette
- Build new sections one at a time
The best Minecraft base balances use and style. Plan the work areas first. Shape the outside next. Add detail only when the base feels useful, safe, and easy to move through.
Frequently asked questions
- How do I start designing a Minecraft base?
- Choose the base goal, pick a fitting site, and mark the outline with cheap blocks. Walk the outline before building the shell.
- What rooms should be near the entrance?
- Place storage, crafting blocks, furnaces, and beds near the entrance. These rooms support the most common daily tasks.
- How can I make a Minecraft base look better?
- Start with one strong shape, then add depth through pillars, roof edges, balconies, and recessed windows. Keep the block palette small.
- How do I stop my Minecraft base from looking cluttered?
- Repeat a few design ideas and leave open space around the main structure. Add decoration near paths and useful areas.
- How much space should I leave for base expansion?
- Reserve open land beside the main build and keep paths easy to extend. New rooms will feel connected when they reuse the same trim and shapes.
Related reading

How Do You Teleport With Command Blocks in Bedrock?
Set up command blocks and teleport to exact coordinates in Bedrock.

How Do You Turn On Keep Inventory in Minecraft?
Keep your items and XP after death in Java or Bedrock.

What Minecraft Edition Is on Nintendo Switch?
See which Minecraft version runs on Switch and how it differs from the older edition.