How Do You Make Iron Armor in Minecraft?
Craft a full iron armor set with 24 ingots and the right crafting patterns.
What Iron Armor Does in Minecraft
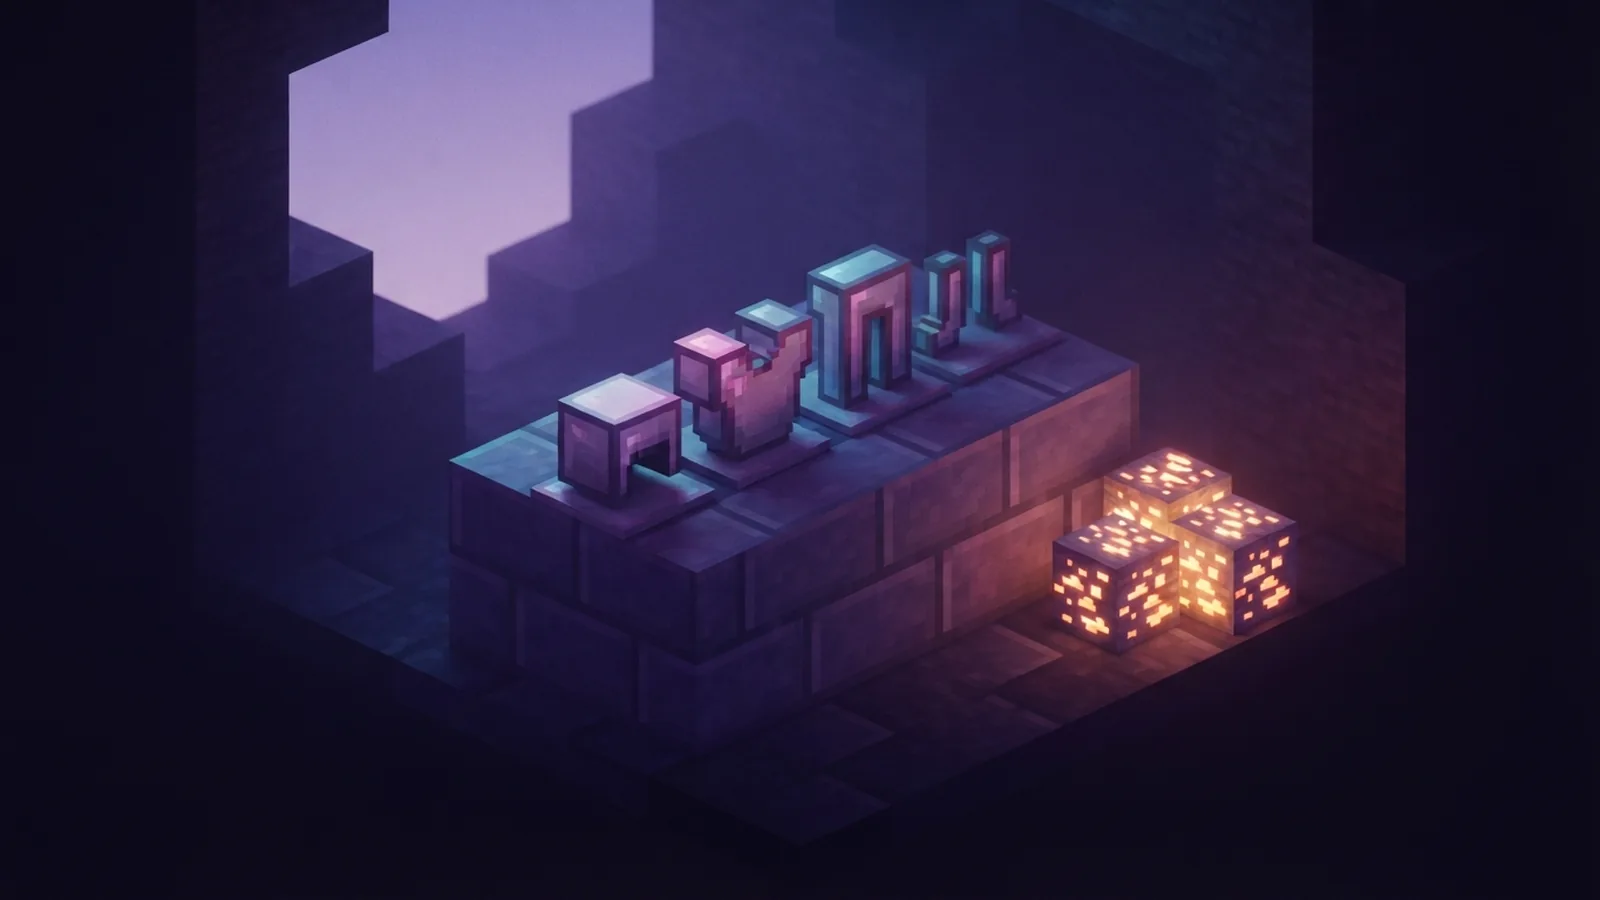
To make iron armor in Minecraft, gather 24 iron ingots and use a crafting table to make a helmet, chestplate, leggings, and boots. Place the ingots in each piece’s recipe pattern, then move the finished armor into your inventory. A full set gives strong protection and good durability for mining, exploring, and fighting mobs.
Each armor piece covers a different part of your character. A helmet protects your head, a chestplate covers your torso, leggings protect your legs, and boots guard your feet. Wear all four pieces together for the full benefit of the set.
Iron armor is a useful step up from leather and gold. It is not as protective as diamond armor, but it takes far less effort to make. It just works.

Gather 24 Iron Ingots
You need exactly 24 iron ingots for one full set: five for the helmet, eight for the chestplate, seven for the leggings, and four for the boots. You also need a crafting table, which has a 3-by-3 crafting grid. A regular inventory crafting grid is too small for these armor recipes.
To get ingots, mine iron ore or deepslate iron ore with a stone pickaxe or better. Smelt the ore in a furnace to turn it into iron ingots. You can also find ingots in some chests, but mining and smelting gives you a steady way to gather enough.
Bring food, a pickaxe, and torches when you search underground. Keep the ingots in a safe chest until you have the full amount. If you have fewer than 24, craft the pieces you need most first. A chestplate is a strong first choice because it offers the most protection among the four pieces.
- Helmet: 5 iron ingots
- Chestplate: 8 iron ingots
- Leggings: 7 iron ingots
- Boots: 4 iron ingots

Craft Each Piece of Iron Armor
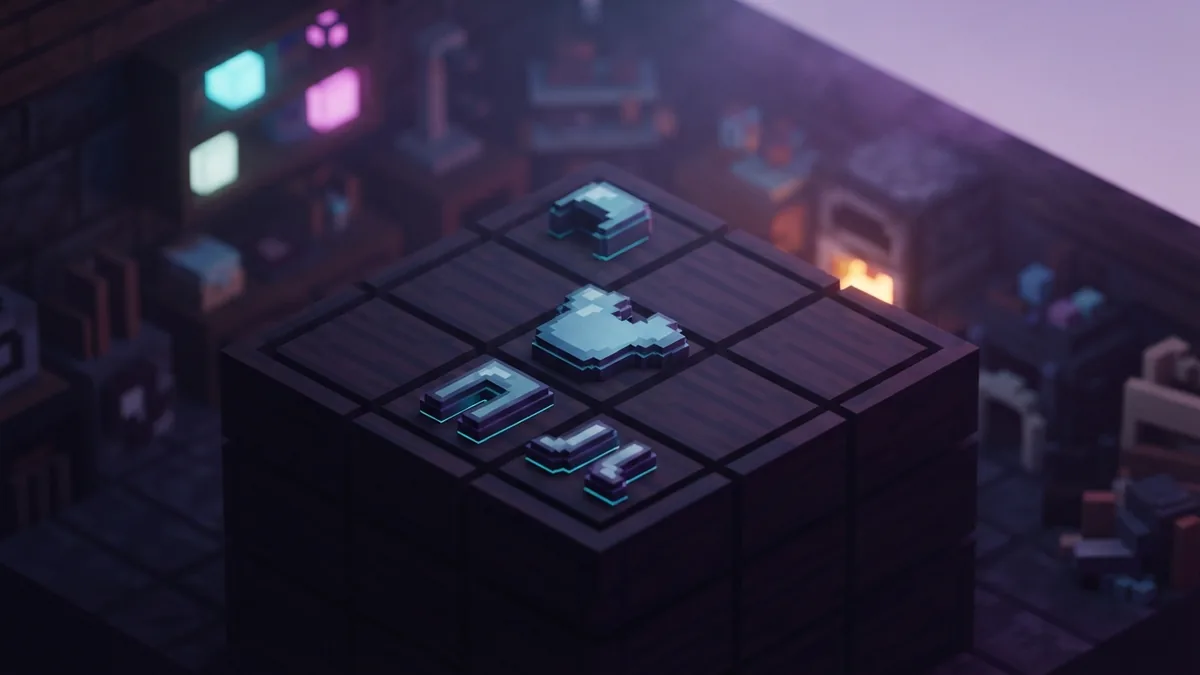
Open the crafting table and place ingots in the shape of the armor piece. The empty spaces matter, so match the pattern rather than filling every square. Once the item appears in the result slot, take it and clear the grid before starting the next recipe.
For the helmet, fill all three spaces across the top row. Then place ingots in the left and right spaces of the middle row. Leave the bottom row empty. This uses five ingots.
For the chestplate, fill the top row and both side spaces in the middle and bottom rows. Leave only the center space of the bottom row empty. The recipe uses eight ingots.
For leggings, fill the top row and both side spaces in the middle and bottom rows. Leave the center spaces of the middle and bottom rows empty. This pattern takes seven ingots.
For boots, place ingots in the left and right spaces of the middle row, then repeat that layout in the bottom row. The top row stays empty. This final recipe uses four ingots.
- Make the helmet: Fill the top row and the two outer spaces in the middle row.
- Make the chestplate: Fill the top row and both outer columns below it, leaving the lower center blank.
- Make the leggings: Fill the top row and outer spaces in the next two rows.
- Make the boots: Fill the two outer spaces in each of the bottom two rows.
Equip the pieces from your inventory when you are ready to use them. Check that each armor slot holds the right item. If a recipe does not appear, check the shape and make sure you are using a crafting table.
Why Choose Iron Armor?
Iron armor offers a solid mix of protection, durability, and ease of access. It can handle many common threats while you explore caves or gather supplies. Its durability also lets you take repeated hits before a piece breaks, though each hit wears it down.
Armor does not make you invulnerable. Fall damage, lava, and strong attacks can still be dangerous, so keep food and a way to escape close at hand. Watch the armor icons and repair damaged pieces before a long trip.
For early survival play, iron is a sound choice once you can spare the ingots. You can save your first few ingots for tools, then build the armor set as your supply grows. If you lack enough for all four pieces, a chestplate and helmet offer useful early coverage.
Iron Compared With Leather, Gold, and Diamond
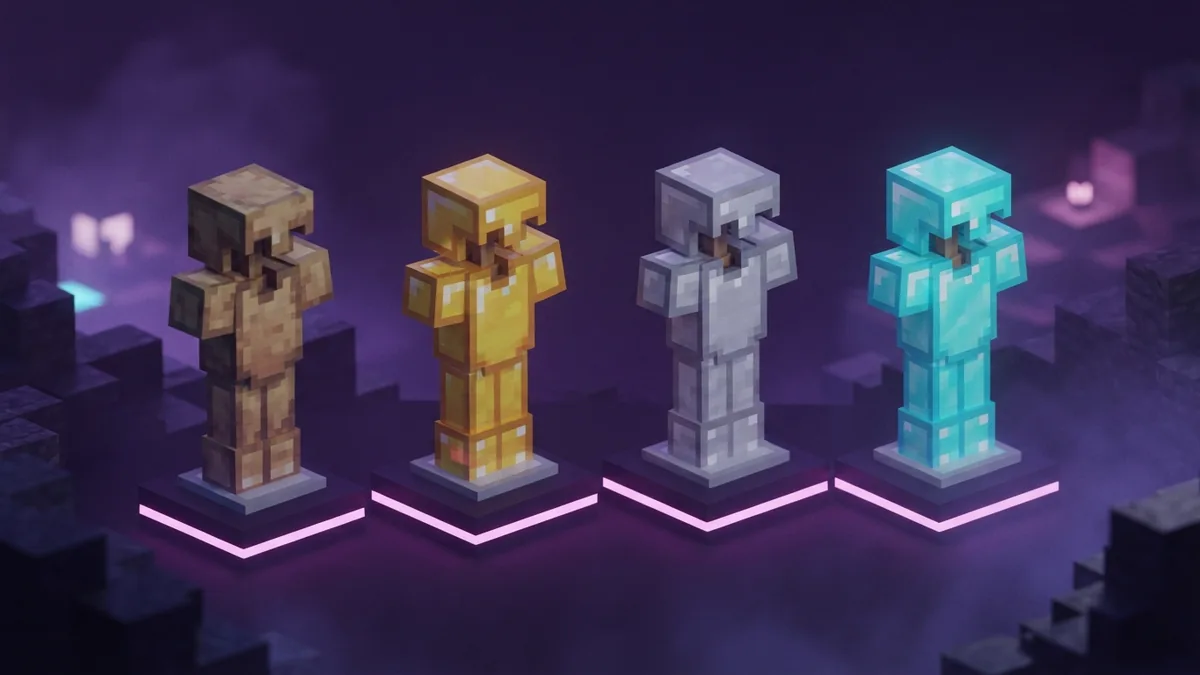
Iron gives more protection than leather or gold, making it a stronger pick for most survival trips. Diamond offers more protection than iron and lasts longer, but it is harder to obtain. The best choice depends on what you have found and how much risk you face.
Gold armor is not better than iron armor for defense. Gold is easy to enchant, but its low durability means it wears out fast. Iron is usually the more dependable everyday set.
Leather has less protection than iron, but it has one special use: players can dye it in the standard game. Iron armor cannot be dyed with regular dyes. If you want a custom color, use leather armor instead.
| Armor type | Protection and use | Can you dye it? |
|---|---|---|
| Leather | Lower protection; easy to color | Yes |
| Gold | Less protection than iron; wears out quickly | No |
| Iron | Strong protection and good durability | No |
| Diamond | More protection and durability than iron | No |
So, is gold or iron armor better in Minecraft? Iron is better for protection and lasting use. Gold can suit a short trip or a specific enchantment plan, but it is not the stronger armor set.
Can You Dye Iron Armor?
No. In the standard versions of Minecraft, dyes do not change the color of iron armor. The same is true for gold and diamond armor. So if you are asking how to dye iron armor in Minecraft, there is no regular crafting recipe that does it.
For a colored set, craft leather armor and dye it. In Java Edition, combine leather armor with dye in the crafting grid. In Bedrock Edition, dye water in a cauldron, then use the dyed water on the leather armor. The exact steps vary by edition.
You can also change the look of some armor with trims, which use materials and smithing templates. Trims add a pattern and color accent, but they do not dye the whole iron piece. Mods or commands may offer other options, depending on your world settings.
For most players, the simple choice is clear: wear iron for sturdy protection, or leather when color matters more. Keep extra ingots for repairs or a spare piece, and upgrade when you find better gear.
Step-by-step
- 01 Gather iron ore
Mine iron ore or find iron ingots in chests. Bring a stone pickaxe or better when mining ore.
- 02 Smelt enough ingots
Use a furnace to turn ore into ingots. Gather 24 ingots for a full set.
- 03 Open a crafting table
Use the 3-by-3 grid to craft each armor piece. Match the ingots to the recipe pattern.
- 04 Craft and equip the armor
Make the helmet, chestplate, leggings, and boots. Move each piece into its matching armor slot.
Frequently asked questions
- How many iron ingots make a full armor set?
- You need 24 iron ingots: five for a helmet, eight for a chestplate, seven for leggings, and four for boots.
- Can you make iron armor without a crafting table?
- No. Each iron armor recipe needs the 3-by-3 grid from a crafting table.
- Is gold or iron armor better in Minecraft?
- Iron armor gives more protection and lasts longer than gold armor. Gold may be useful for a short-term need, but iron is the stronger everyday choice.
- Can you dye iron armor in Minecraft?
- No, standard Minecraft does not let you dye iron armor. You can dye leather armor, or use trims to add a pattern and accent color.
- What should I craft first if I lack 24 ingots?
- Start with a chestplate for strong early coverage, then make the other pieces as you gather more iron. Your needs may vary based on your gear and plans.
Related reading
Can You Make Copper Armor in Minecraft?
Craft a 24-ingot copper set and see how it compares with leather and iron.

How Do You Make a Nether Portal in Minecraft?
Build the frame, light it, and travel safely between the Overworld and Nether.
How Do You Make Clay Bricks in Minecraft?
Find clay, mine it with a shovel, and smelt the drops into bricks.