How Do You Make a Gun in Minecraft?
Build a working Minecraft gun with a dispenser and redstone.
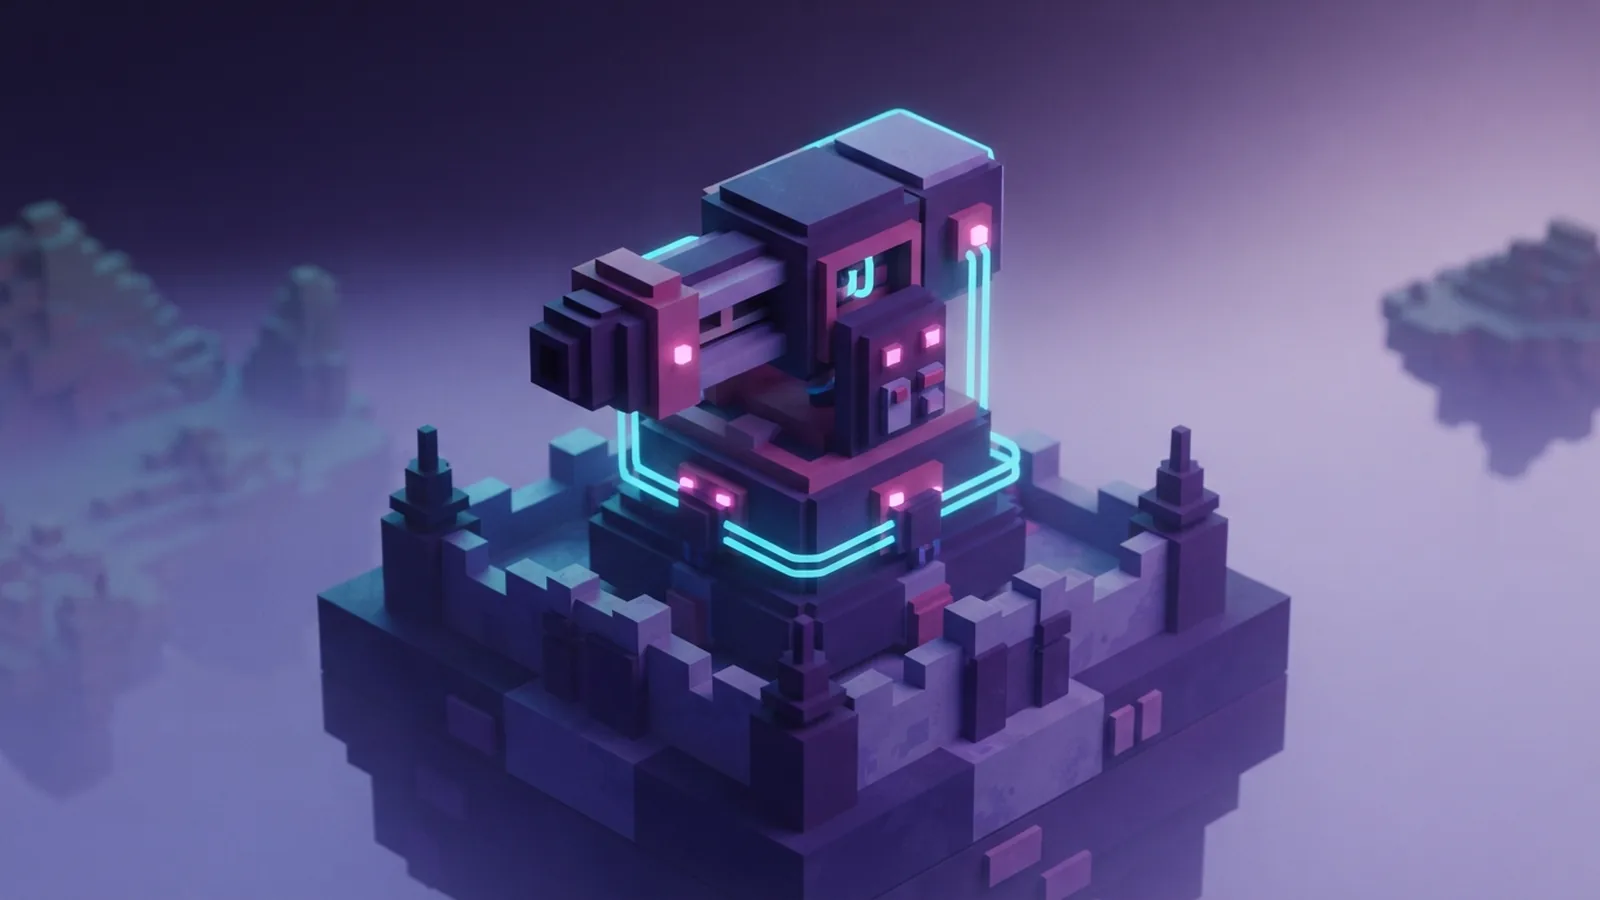
Start With a Simple Minecraft Gun
If you want to know how to make a gun in Minecraft, build a dispenser weapon with redstone. This setup fires arrows when you pull a lever. It works in vanilla Minecraft, so you do not need a mod.
The build is closer to a mounted launcher than a modern firearm. Minecraft has no normal gun crafting recipe. A dispenser acts as the weapon, while redstone sends its firing signal.
You can also load fire charges for a different attack. Arrows suit precise shots, while fire charges create a wider threat near a target.
Gather the Parts Before You Build
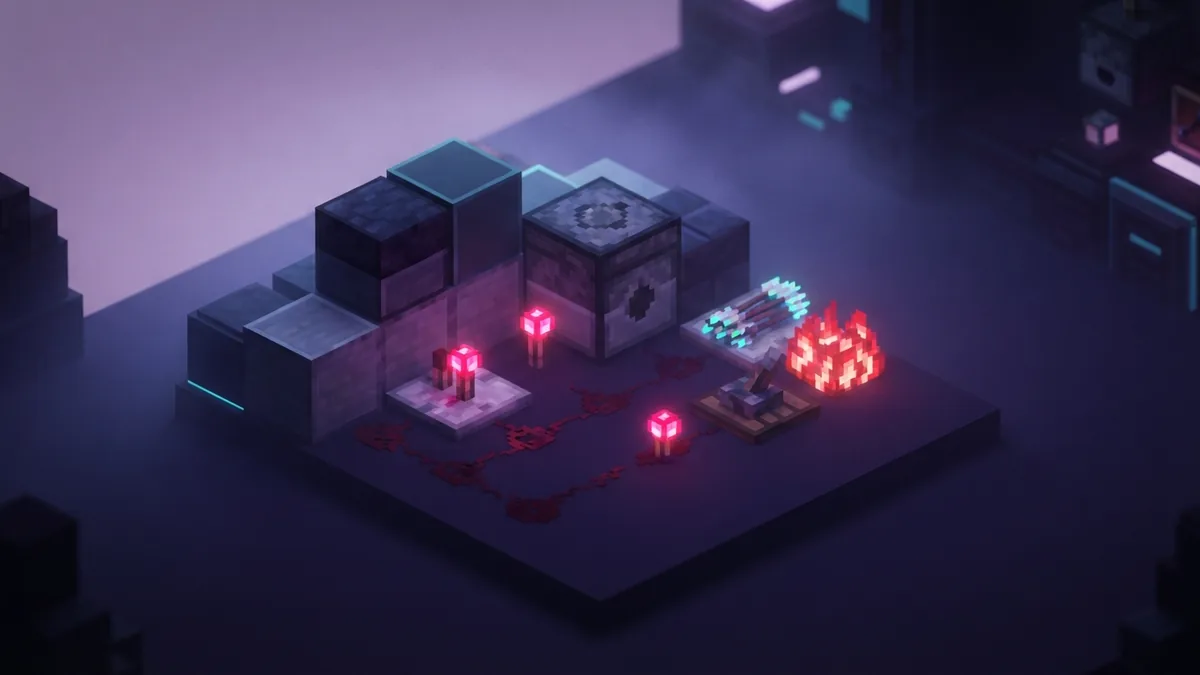
Collect the parts before you place anything. The full setup needs six building blocks, one dispenser, three redstone dust, four redstone torches, and one lever. You also need arrows or fire charges for ammunition.
Use any solid blocks for the frame. Stone, deepslate, and bricks work well. Pick blocks that stand out from the ground, since clear shapes make redstone work easier.
- Six solid building blocks
- One dispenser, facing the target area
- Three redstone dust
- Four redstone torches
- One lever
- Arrows for safe, direct shots
- Fire charges for burning projectiles
A dispenser differs from a dropper because it uses items in special ways. It shoots arrows and launches fire charges. A dropper would simply release most items as drops.
Build the Dispenser and Redstone Trigger
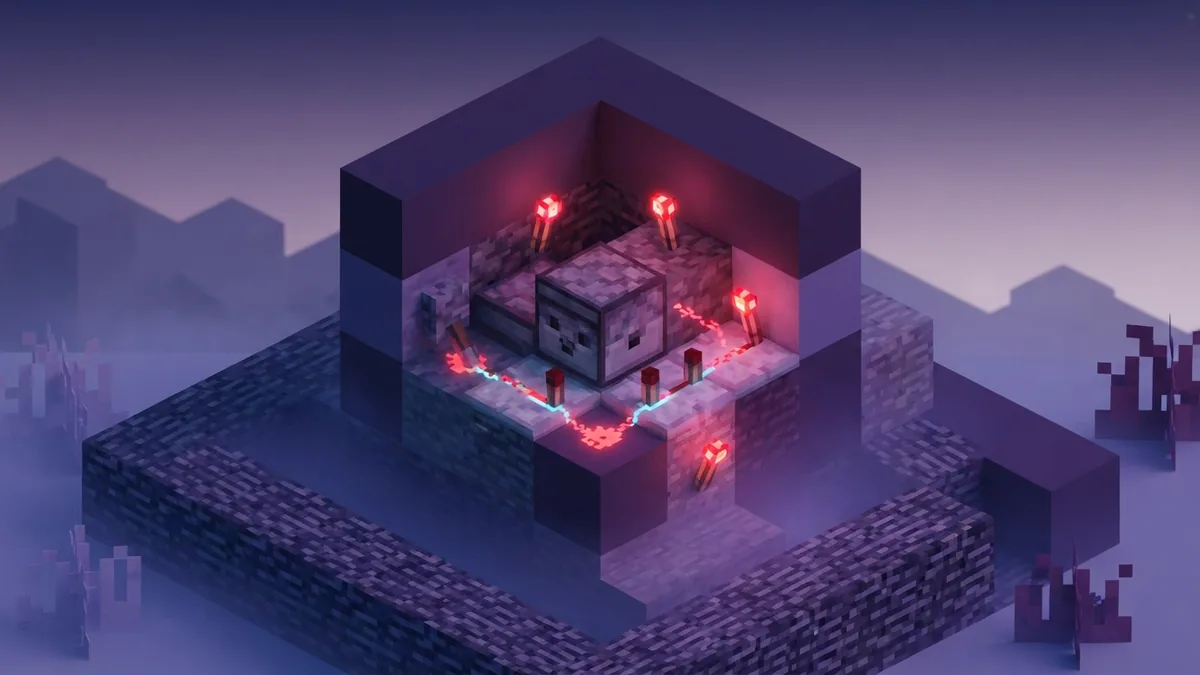
Follow these steps for a reliable single-shot gun. This version uses the lever as its trigger. It is the best starting point for players learning redstone circuits.
- Choose a firing lane. Face an open area with at least 15 blocks of clear space.
- Place the dispenser. Set it at the front of the build. Check its face before you continue.
- Add the base blocks. Place two solid blocks behind the dispenser. Add two blocks beside the dispenser to form a small frame.
- Place the last two blocks. Raise them behind the frame. These blocks can support redstone torches and protect the wiring.
- Run the redstone dust. Place dust from the dispenser's rear side toward the lever position.
- Set the lever. Attach it to the last solid block in the dust line.
- Load the dispenser. Open it and place arrows inside. Keep spare arrows nearby for quick reloads.
- Test one shot. Pull the lever once, then release it. The dispenser should fire one arrow.
The four torches add power options to the frame. Place one torch on each outer side of the raised blocks. These torches can power nearby dust lines or light the build.
Do not place a torch beside the dispenser unless you want constant power. A steady signal can fire the dispenser only once. The dispenser needs a fresh power change for each shot.
If the gun does not fire, check the dust path first. Redstone dust must touch the dispenser or a powered block. Also check that the lever sits on a solid block.
Use Arrows and Fire Charges in Combat
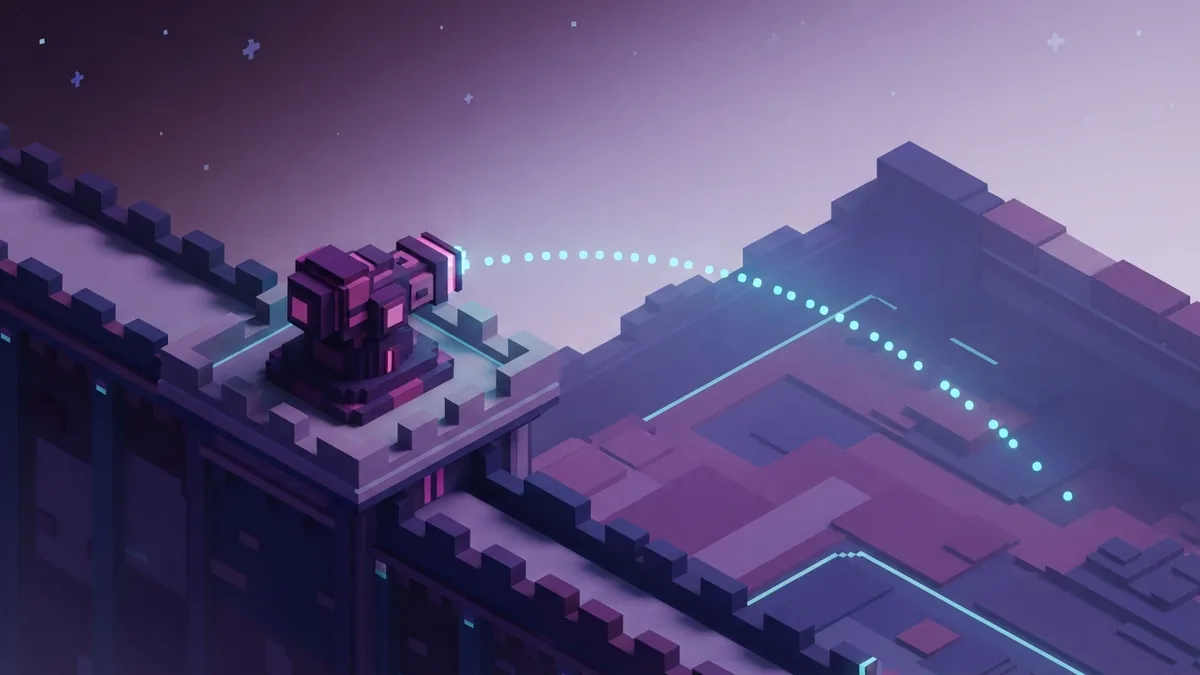
Arrows are the safest ammo for this build. They fly in a straight path and can hit targets at medium range. Aim across open ground for the best results.
Fire charges create a different tactic. A dispenser launches them as small fireballs. They can light nearby blocks and pressure enemies behind cover.
| Ammo | Best use | Main limit |
|---|---|---|
| Arrows | Accurate shots at open targets | They need a clear path |
| Fire charges | Fire attacks and area pressure | They can cause unwanted fires |
Build the dispenser on a wall or tower for a wider view. A height of six to ten blocks helps the launcher cover ground. Keep the firing lane clear of trees, walls, and friendly builds.
You can make several launchers with one lever bank. Space each dispenser by two blocks. Test every barrel from the same spot. Small height changes can alter the shot path.
For better defense, place the gun behind a one-block slit. The dispenser can shoot through the opening. Your base stays safer, but the slit can narrow your aim.
Improve Range and Redstone Control
The basic lever build fires one shot per power change. For faster fire, add a redstone clock. A clock sends repeated short signals to the dispenser.
Use a repeater loop or a piston clock when you want steady fire. Those parts are not in the starter list. Build the simple trigger first, then expand the circuit after it works.
- Raise the dispenser to clear low walls and grass.
- Use a long, straight lane for better arrow travel.
- Place a wall behind the redstone to guard the circuit.
- Keep the lever away from the barrel to prevent mistakes.
- Use a repeater when the redstone line must cross a long gap.
Faster firing is not always better. A clock can empty a dispenser quickly. It can also waste arrows and create lag in large builds. Start with a slow pulse and raise the speed in small steps.
Remember that arrows lose usefulness over long distances. Terrain, shields, and moving targets can spoil a shot. A high mount helps, but it does not remove these limits.
Vanilla Limits and Mod Options
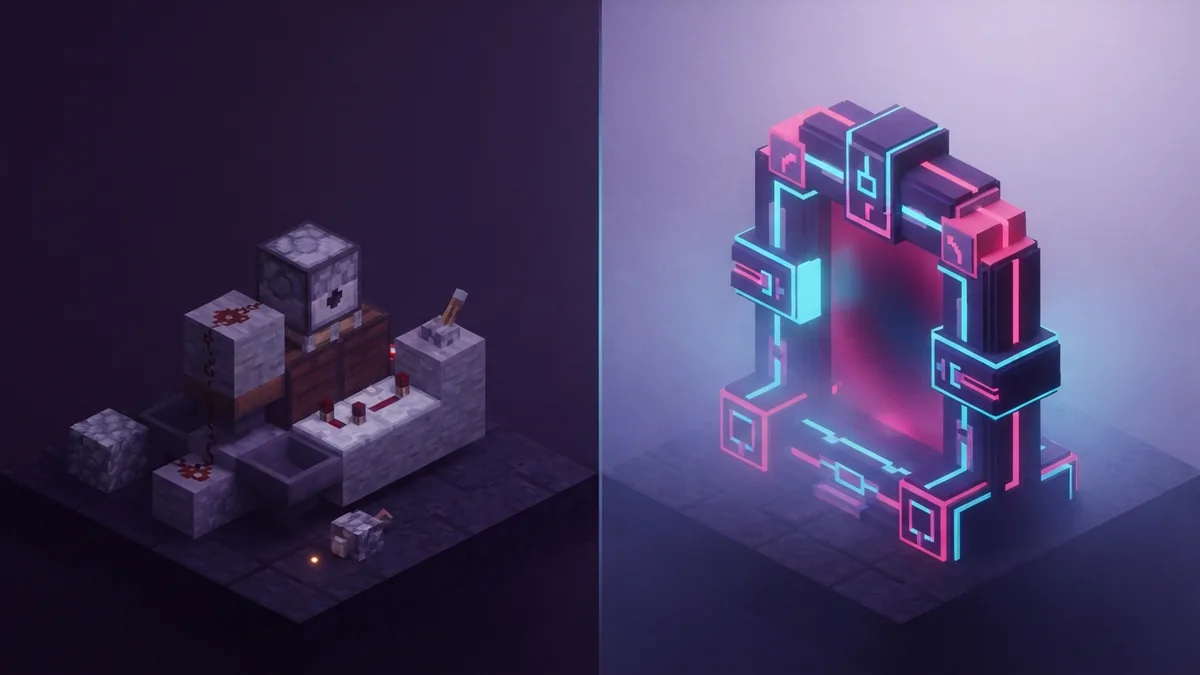
This answer covers how to craft a gun in Minecraft no mods. Vanilla Minecraft does not add a true handheld gun item. The dispenser method creates a redstone machine with limited control.
You cannot aim it like a normal weapon. You also cannot carry the complete device in your inventory. Break the parts, move them, and rebuild the launcher at a new site.
Mods offer a broader answer to how to get a gun in Minecraft. Some mods add pistols, rifles, ammo types, recoil, and reload systems. Others add portal guns, turrets, or energy weapons.
To learn how to make a portal gun in Minecraft, first choose a mod that includes one. Each mod has its own recipe, power source, and controls. Check its version support before you build a world around it.
Modded weapons may need a mod loader and extra library files. They may also change world balance. Test them in a copy of your world before adding them to a long-term server.
- Use the dispenser build for vanilla survival and creative maps.
- Use a weapons mod for handheld guns and custom ammo.
- Use a portal mod for linked portals and movement tools.
- Check server rules before using combat mods online.
Choose the Right Gun Build for Your World
The dispenser launcher is the easiest way to make a gun in Minecraft. It uses common parts and teaches key redstone skills. It also works well as a base defense or target range.
Use arrows when you need control and low fire risk. Choose fire charges when you want pressure near walls or cover. Keep the launcher high, protect the wiring, and test each shot before combat.
For a true handheld weapon, use a trusted mod instead. For a no-mod build, the dispenser remains the most useful choice. It is simple, repeatable, and easy to expand.
Step-by-step
- 01 Choose the firing lane
Face the dispenser toward an open area. Leave at least 15 blocks of clear space for testing.
- 02 Place the dispenser
Set the dispenser at the front of the build. Check that its face points toward your target area.
- 03 Build the frame
Place four blocks around and behind the dispenser. Raise the last two blocks behind the frame.
- 04 Connect the redstone
Run redstone dust from the dispenser's rear side to the lever position. Attach the lever to a solid block.
- 05 Add the torches
Place one redstone torch on each outer side of the raised blocks. Keep torches away from the dispenser unless you want constant power.
- 06 Load and test the gun
Put arrows or fire charges inside the dispenser. Pull the lever once, then release it to test one shot.
Frequently asked questions
- How do you make a gun in Minecraft without mods?
- Place a dispenser, connect it to redstone dust, and add a lever. Load arrows or fire charges, then toggle the lever to fire.
- What materials do you need to craft a gun in Minecraft?
- You need six blocks, one dispenser, three redstone dust, four redstone torches, one lever, and ammo. Arrows work best for the basic build.
- Can you make a working gun in vanilla Minecraft?
- Yes. A dispenser can launch arrows or fire charges when redstone powers it. Vanilla Minecraft does not add a normal handheld gun.
- How can I make a Minecraft dispenser gun shoot farther?
- Raise the dispenser and clear its firing lane. A high mount helps the shot pass over low walls and ground clutter.
- How do you get a gun in Minecraft with a mod?
- Install a compatible weapons mod and its required mod loader. The mod then adds its own gun recipes, ammo, and controls.
- How do you make a portal gun in Minecraft?
- Use a mod that adds a portal gun. Vanilla Minecraft has no portal gun item, and each mod uses different recipes and controls.
Related reading
Can You Make Copper Armor in Minecraft?
Craft a 24-ingot copper set and see how it compares with leather and iron.
How Do You Make a Nether Portal in Minecraft?
Build the frame, light it, and travel safely between the Overworld and Nether.
How Do You Make Clay Bricks in Minecraft?
Find clay, mine it with a shovel, and smelt the drops into bricks.