Build a Better Minecraft Starter Base in Survival
Build a safe starter base that stays useful as your world grows.

Start With a Base Plan That Fits Survival
The best Minecraft starter base is small, safe, and easy to expand. Start with one room near wood, stone, food, and water. Improve the look after your basic needs are met.
Pick a flat spot beside a clear travel route. A river, hill, or village can guide your layout. Avoid steep cliffs and dark forests during your first days.
Mark a footprint of about nine by eleven blocks. This gives you room for a bed, chests, furnaces, and a crafting table. Leave one side open for a farm or new room.
- Place the front door beside a clear path
- Keep key tools close to the bed
- Reserve space for extra storage
- Build near water, but stay above flood risk
Face the front door toward your main work area. This saves time during short trips. It also makes future paths easier to plan.
Your first base should solve daily problems. Fancy roofs and tall towers can wait. Fast access matters more than a large floor plan.
Choose Blocks That Are Fast to Gather
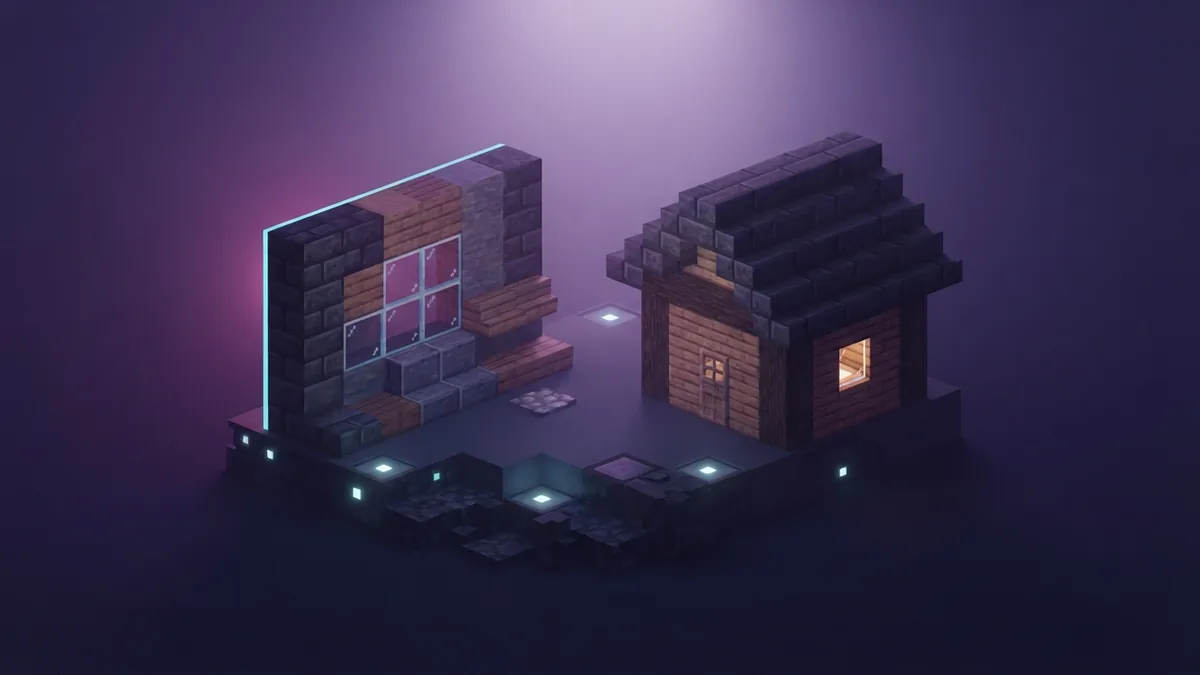
Use blocks that you can gather without long trips. Oak, spruce, birch, and stone all work well. Pick two main blocks and one accent block.
Stone makes a strong wall base. Wood adds warmth around doors, windows, and roof edges. Glass lets you watch the area without opening the door.
Do not use rare blocks during your first night. You may need those items for tools, armor, or travel. Early builds should stay cheap and easy to fix.
| Build part | Useful block | Why it works |
|---|---|---|
| Lower walls | Stone or cobblestone | Easy to mine and quick to replace |
| Upper walls | Wood planks | Fast to gather and warm in tone |
| Roof trim | Stairs and slabs | Adds shape with little material |
| Windows | Glass panes | Uses less glass than full blocks |
Place a small test wall before building the full house. Check the colors during day and night. Lanterns and torches can change the feel of a room.
Keep spare blocks in a chest near the door. Repairs then take seconds instead of another mining trip. This habit helps the base stay useful.

Build a Safe Layout for Daily Tasks
Put the bed, crafting table, and storage close together. This saves time each morning. Keep furnaces along one wall so fuel stays easy to reach.
Use separate chests for stone, wood, food, tools, and rare items. Add signs later if storage grows. Clear groups reduce mistakes during short trips.
Make the entrance two blocks high and well lit. Add a fence or wall if nearby ground stays dark. A safe entrance makes night travel less stressful.
- Place the bed away from the door and windows
- Put crafting tools beside the main storage wall
- Keep furnaces near a fuel chest
- Add lights to every dark corner
- Check the roof for open gaps
Light the outside path at regular points. Do not rely on one torch beside the door. A bright path helps you return home after mining.
Keep a spare shield, food stack, and tool set near the exit. This helps when you need to leave in a hurry. It also keeps your main storage room tidy.

Add Farms and Room to Expand
A small food farm gives your base steady value. Plant wheat, carrots, potatoes, or beetroot near water. A nine by nine plot can support a strong early food supply.
Keep crops close, but do not block the front door. A side farm works better than a patch beside the main path. Add a fence when animals or mobs can reach the crops.
Plan expansion before you fill every open space. Leave one side for a mine entrance, storage shed, or bedroom. Each new room should have a clear place.
- Place crops within easy reach of water
- Keep animals behind a simple fence
- Reserve space for a lower storage room
- Build a path toward nearby caves
- Leave room for a Nether route later
Use paths to connect each useful area. Gravel, slabs, and packed soil can mark routes. Keep paths wide enough for quick movement.
Leave room around the farm for water channels and fences. Crowded farms become hard to harvest. Spare space keeps later changes simple.
Improve the Base Without Losing Its Use
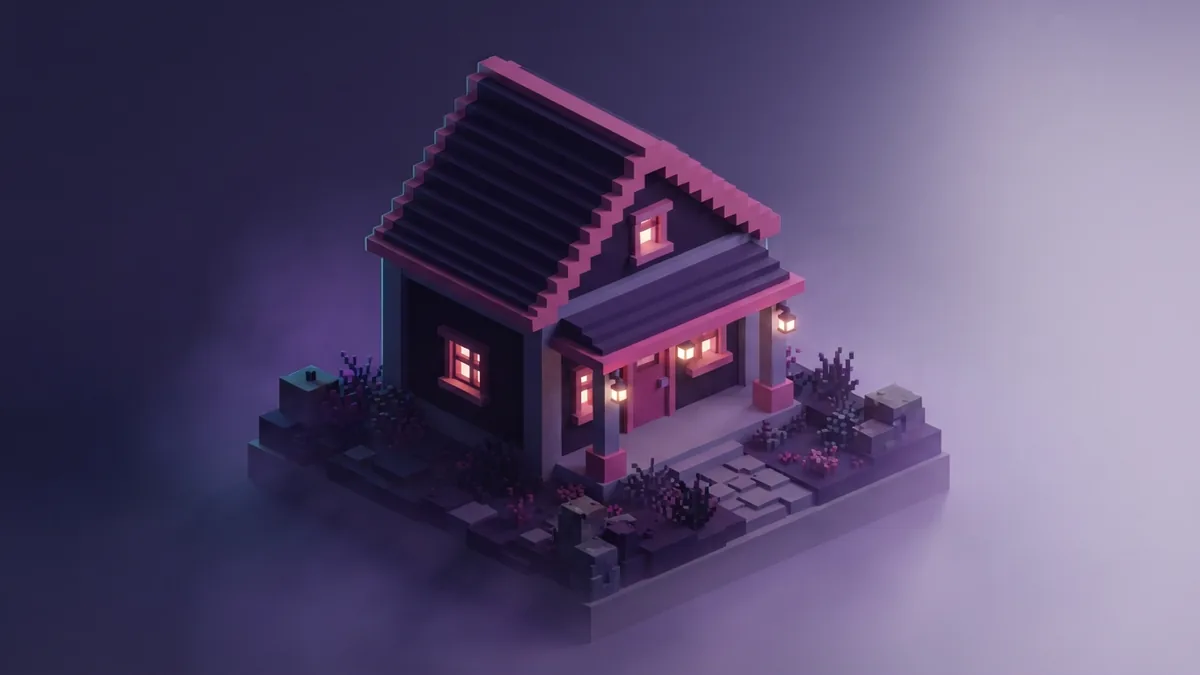
Once the base works, improve one feature at a time. Start with the roof, then shape the walls, then add a porch. Small changes can make a plain box feel planned.
Use depth instead of random decoration. Add stairs under windows, slabs above doors, and pillars at corners. These details create shadows and make walls look less flat.
Add a second floor when storage becomes crowded. Keep the stairway near the center. Use the lower floor for work and the upper floor for rest.
- Build a roof with two slopes instead of one flat layer
- Frame windows with stairs or trapdoors
- Add a porch beside the main path
- Use lanterns to mark the entrance
- Keep walkways clear of random blocks
Upgrade the room that causes the most trouble first. Add storage when sorting takes too long. Add a farm when food runs low.
Keep the first base as a useful home. You can build a grand hall elsewhere later. A small base still matters when it supports every trip.
Use a Simple Upgrade Order
Good timing keeps your early days calm. Finish shelter, light, food, and storage before chasing fine detail. This order protects your supplies and saves long return trips.
Review the base after each major task. Ask what slows you down most. Then change that area instead of rebuilding the whole structure.
- Finish the main room and secure the entrance
- Add a bed, crafting area, furnaces, and storage
- Light the base, roof, and nearby paths
- Plant a food farm beside a safe water source
- Reserve space for future rooms and travel paths
A starter base does not need a perfect shape. It needs clear routes and room to grow. Build for your next few goals, not your final world.
Frequently asked questions
- What is the best size for a Minecraft starter base?
- A footprint near nine by eleven blocks works well for early survival. It fits basic tools, storage, a bed, and furnaces.
- Where should I build my first Minecraft base?
- Choose flat ground near wood, stone, food, and water. Stay near a clear path, but avoid cliffs, dark forests, and flood risk.
- What blocks should I use for a starter house?
- Use common blocks such as stone, cobblestone, and wood planks. Add glass, stairs, and slabs for windows and roof shape.
- How do I make a Minecraft starter base safe?
- Light the inside, roof, entrance, and nearby paths. Keep the bed away from doors and windows, then check for dark corners.
- What should I build near my starter base?
- Add a small crop farm, animal pen, storage area, and paths. Leave open space for a mine entrance or later rooms.
- When should I decorate my starter base?
- Decorate after shelter, food, light, storage, and tools work well. Improve one feature at a time so the base stays useful.
Related reading
How Do You Make Clay Bricks in Minecraft?
Find clay, mine it with a shovel, and smelt the drops into bricks.

How Do You Make a Teleporter in Minecraft?
Build linked Nether portals for fast travel between far-off Minecraft locations.

How Do You Fly With an Elytra in Minecraft?
Launch, steer, boost, and land safely with your Minecraft elytra.